Balancing order preparation, responding to customer messages, and snapping appealing photos for your feed can make food photography seem overwhelming. Capturing delicious-looking dishes does not need to add stress to your day. A few simple tools and some thoughtful use of natural lighting can help you craft appetizing images that highlight both your food and your efforts. Bright, inviting photos not only draw attention but also communicate your dedication to quality. You can achieve beautiful results right from your kitchen with minimal equipment. Discover how natural light becomes your best friend in making every plate look irresistible and worth sharing.
Choosing the Right Natural Light Setup
Before you grab your camera, look for spots in your workspace where light streams in. Find a bright area without direct sun beams that cast harsh shadows.
- Face a window with sheer curtains to soften direct light and avoid hot spots on your subject.
- Work during golden hour if you can: the hour after sunrise or before sunset gives warm, flattering light.
- Use a foam board or white poster board on the opposite side of your dish to bounce light back and fill in shadows.
- Rotate your setup throughout the day, since light changes angle—this helps you discover new looks without adding equipment.
Even a small table by a north-facing window can produce consistent, gentle light that highlights texture and color. Adjust the distance from the window to control brightness, and watch out for reflections if you’re shooting glass or glossy plates.
Setting Up Your Smartphone or Camera
Getting a clear, vibrant shot doesn’t require a fancy camera. A modern smartphone or entry-level DSLR can deliver stunning results. Follow these steps:
- Clean the lens to avoid blurry spots that steal attention from your dish.
- Enable the grid feature to line up your shot with the rule of thirds—place the focal point off-center for a more dynamic photo.
- Turn off flash and set ISO as low as possible to reduce grain.
- Tap on the main subject on your screen to lock focus and exposure, then adjust exposure up or down if needed.
- Use a tripod or steady surface to eliminate camera shake, especially for overhead shots.
For women managing everything from a home kitchen, this simple list can help streamline your process so you spend less time tinkering with settings and more time creating content.
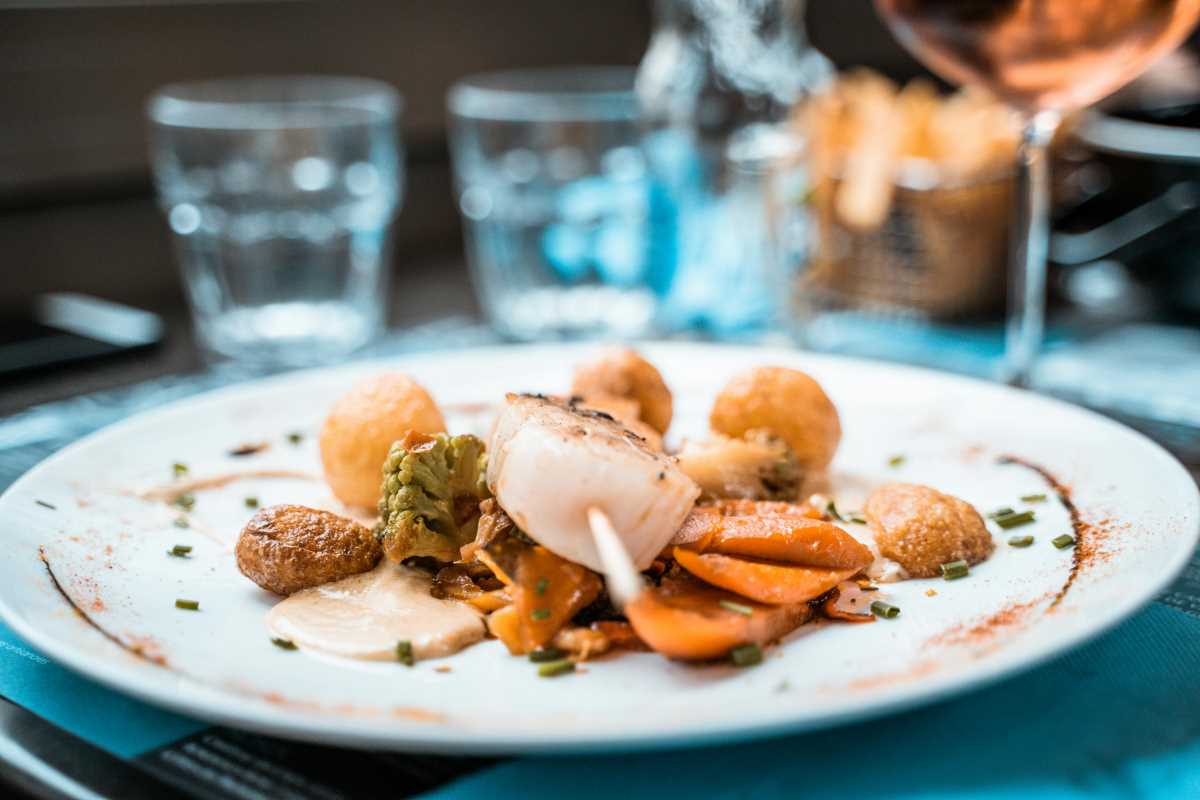
Composing and Styling Your Dish
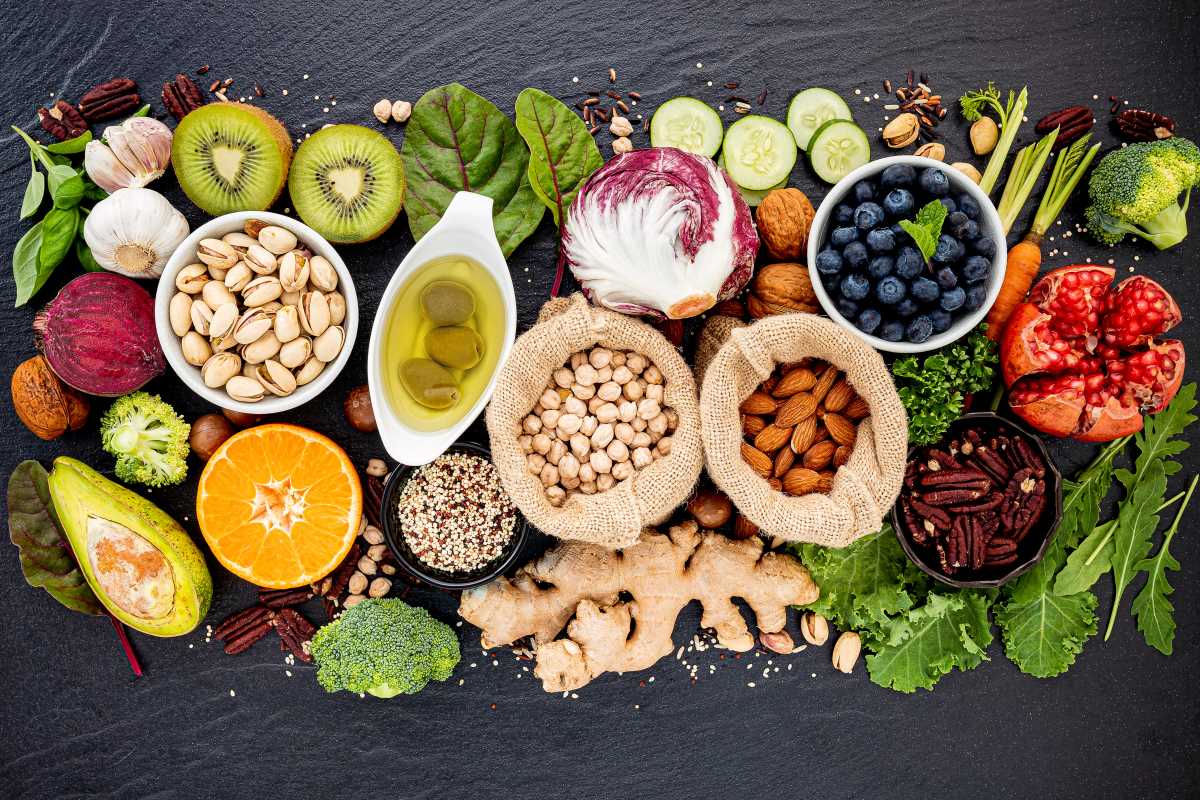
Great food photography balances style and storytelling. Start by choosing props and backgrounds that complement, not compete with, the food. Wooden boards, neutral plates, and cloth napkins often work wonders.
Arrange elements in groups of three or five to add visual interest. Leave some negative space so the dish can breathe. Adding a sprinkle of fresh herbs, a drizzle of sauce, or a scattering of seasonal ingredients shows viewers this is handcrafted just for them.
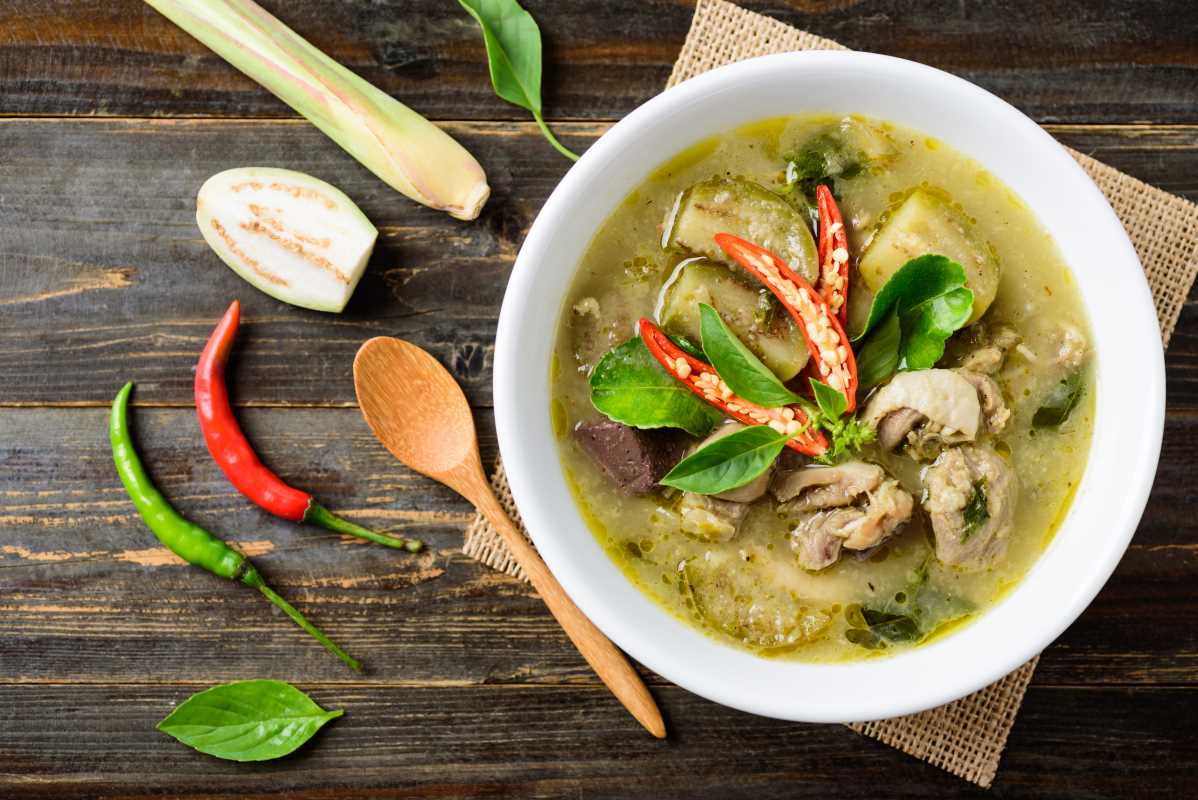
Rotate plates or bowls to find the most flattering angle—sometimes a gentle tilt reveals depth and texture.
Adjusting Exposure and White Balance
Even with natural light, you may need small tweaks in post. Most smartphones let you drag exposure sliders right in the camera app. If you’re editing in apps like Lightroom Mobile or Snapseed, focus on these settings:
White balance: Correct any color cast so whites look white. This makes your food look more appetizing. Exposure: Brighten shadows slightly without blowing out highlights. Contrast: Add a touch to make textures pop, but avoid overdoing it.
Save presets once you find settings you love. Then you can apply a consistent look across multiple images in seconds, keeping your brand feed cohesive.
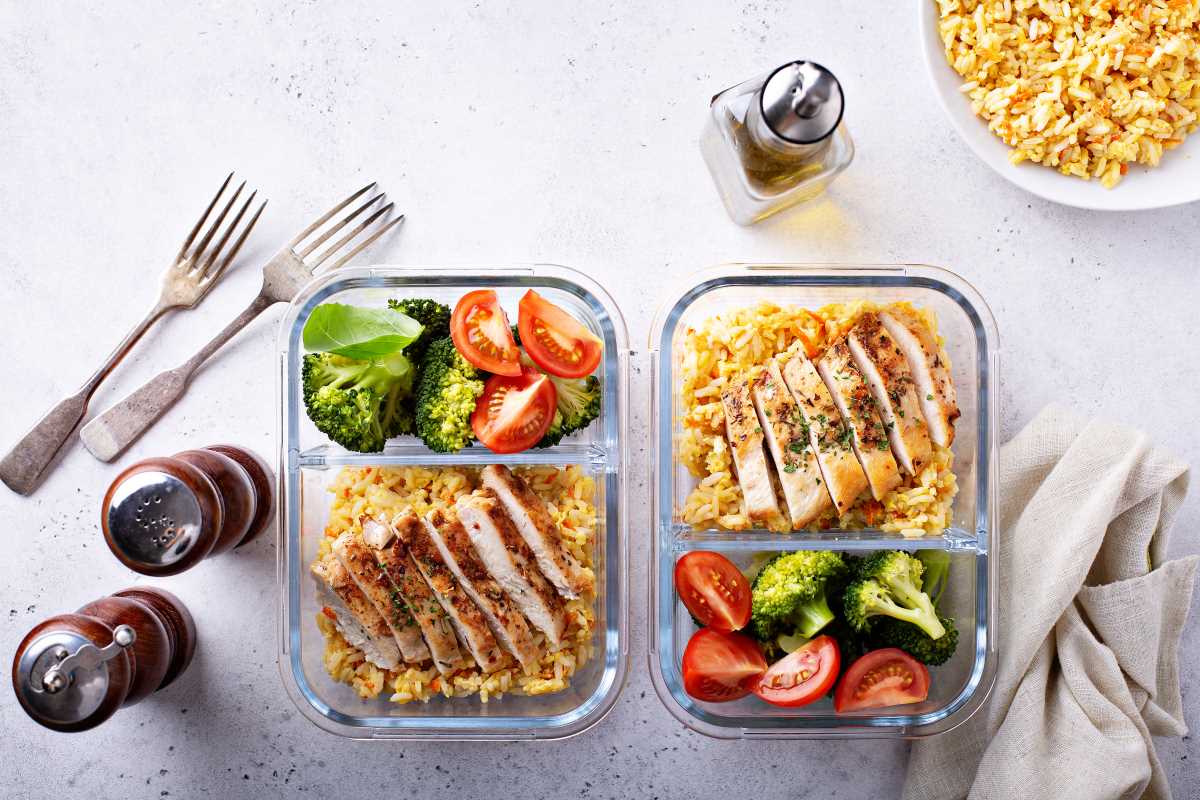
Creative Techniques for Dynamic Shots
Shooting every dish from the same angle can get boring. Switch between top-down shots, 45-degree angles, and tight detail crops to keep your audience interested. Here are a few playful ideas:
- Motion blur: Capture steam rising from a hot dish by using a slightly slower shutter speed.
- Reflection shots: Place your plate on a glossy surface for a subtle mirror effect.
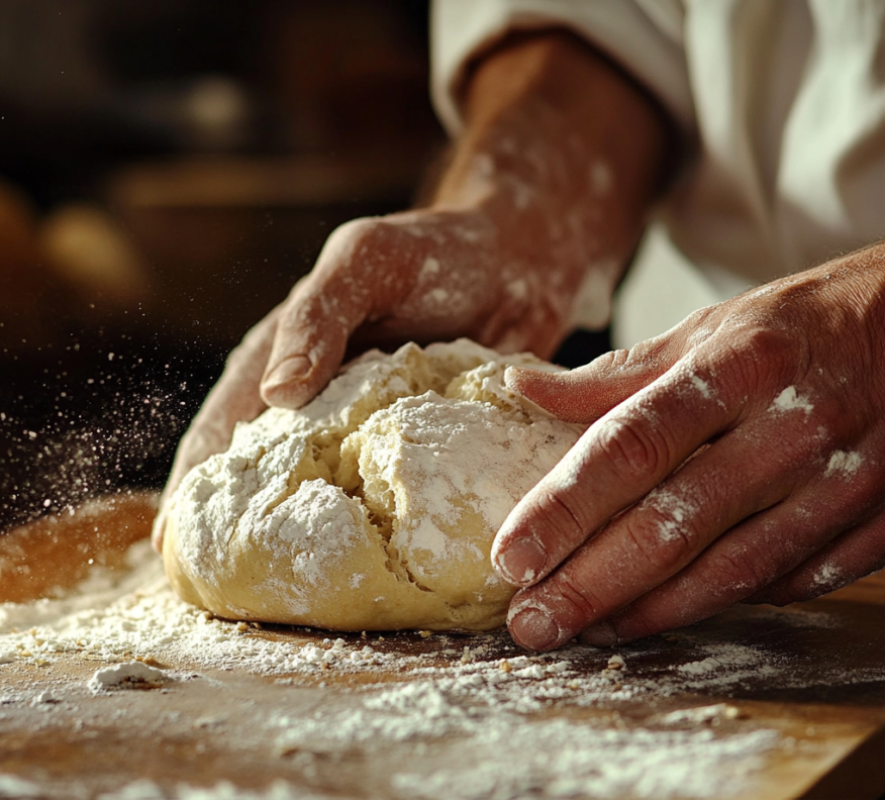
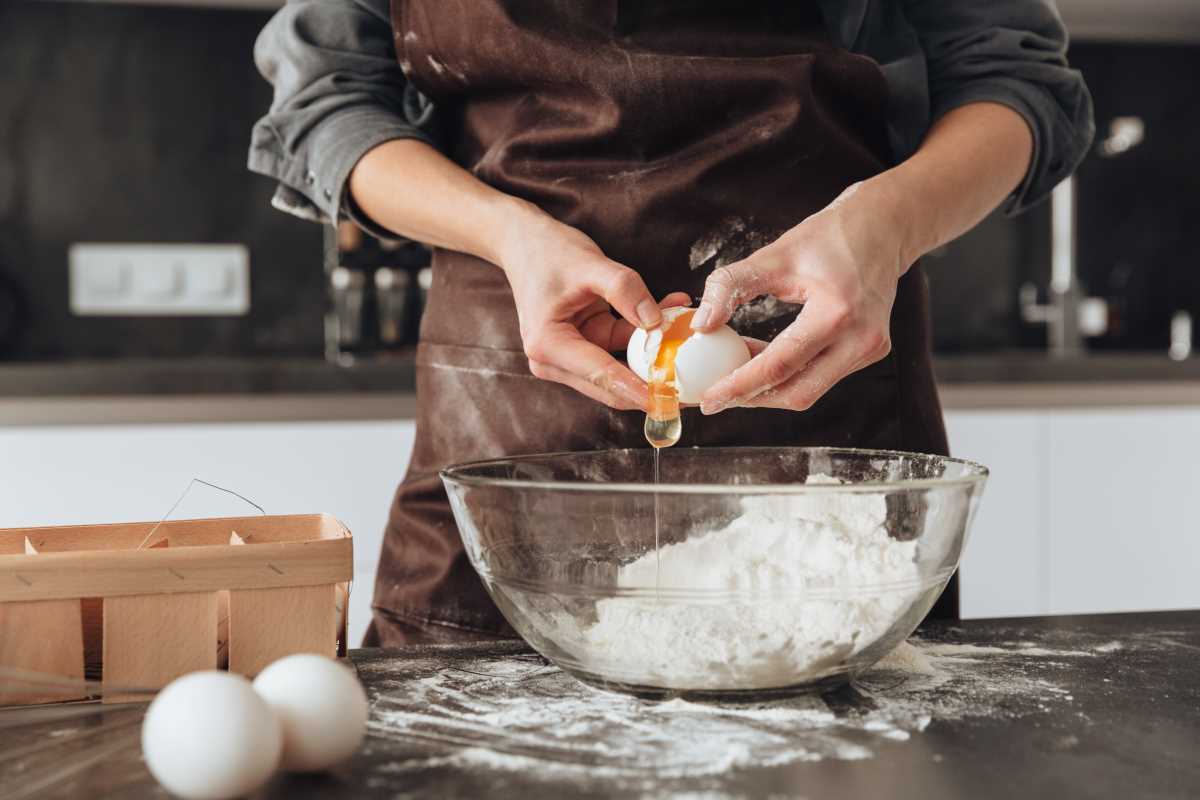
- Action shots: Show hands sprinkling toppings or pouring sauce to bring a human element into the frame.
These little creative flourishes work especially well when you’re creating content for a weekend batch of social media posts or testing new recipes for your online shop.
As you try each technique, keep notes on what your audience responds to—likes, comments, saves. Over time, you’ll refine your style and learn which shots generate more engagement and sales.
With these methods, you’ll gain confidence in using your camera and making every photo look professional. Now it’s time to experiment, have fun, and let your culinary creations shine.
Good luck capturing your next eye-catching image. Your audience is eager to see it!